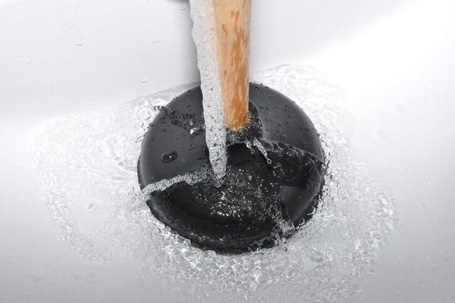
Unfortunately, clogged drains are an inevitable obstacle that most people encounter at some point or another. While these mishaps might stress you out, plenty of clogs can actually be fixed right at home with the proper use of a plunger. If you’re not sure of the ins and outs of plunging your own sink, tub, and toilet, then read ahead for some handy tips to get started!
First, make sure you’re using the right type of plunger.
There are two major types of plungers that you’ll want to keep on hand in your home: a cup plunger and a flange plunger.
The classic cup plunger is probably the first thing you picture in your head when thinking about plungers, and it’s best-suited for creating the necessary suction against a relatively flat surface. A cup plunger will be your go-to for sinks and tubs.
Flange plungers look distinctly different from cup plungers, sporting a series of accordion-like pleats and a longer rubber lip. These features work together to create better suction for use in the narrower, more dramatic curves of a toilet bowl.
Please Note: As a matter of hygiene, never use the same plunger for your sinks that you use for your toilet. This could spread fecal bacteria to different areas of your home, such as your kitchen. Yuck!
Avoid using corrosive chemicals before plunging.
This tip is especially important since safety is involved. Plunging can often splatter droplets of liquid, and you don’t want to run the risk of splashing yourself with caustic chemicals while plunging. When using certain chemical drain cleaners, you also run the risk of damaging your pipes, so it is best to avoid these types of cleaners altogether.
Tips for toilets
For starters, you’ll want to have the right amount of liquid in your toilet bowl before you start plunging. If your John is so over-filled that pushing in a flange plunger will cause a nasty spillover, then bail some of the excess liquid into a bucket first.
However, you’ll still need enough liquid to cover the rubber lip of your flange plunger, so add a little bit of water to the bowl if necessary in order to create adequate suction.
Use your flange plunger to create a good seal against the bottom of the toilet bowl, and then press and lift it repeatedly without breaking that seal. The goal here is to use suction and forceful thrusts to wiggle the clog loose so that it can be flushed away.
If you’re seeing air bubbles each time you thrust the plunger, then you’ll need to readjust your seal and try again.
Tips for Tubs
Here’s where you’ll want to pull out the trusty cup plunger that so many people mistakenly use for toilets instead! Use a plug or wet towel to close off your overflow drain and to get a better seal before you get started.
Ensure that the cup of your plunger is completely submerged in standing water, and push it gently once or twice to remove excess air. Then, place it over the drain to form a good seal and push it firmly and repeatedly without breaking the seal (just as you would do in a toilet bowl) in order to dislodge the clog in the drain.
Tips for Sinks
The plunging process for sinks is just about the same as what you’d use for tubs, but you’ll want to take the added step of clearing everything off of the surrounding counter space first. Plunging displaces a lot of water, which can result in a lot of messy splattering in a vessel as small as a sink bowl!
If your sink is equipped with two bowls, make sure to seal the drain of the side you are NOT plunging with an airtight lid or a second cup plunger. Otherwise, you will not be able to create adequate suction while plunging.
Remember:
Sometimes, even after your best efforts, those pesky clogs still won’t budge. If you need any help in diagnosing a plumbing issue in your home, don’t hesitate to reach out to us at EZ Flow Plumbing so that we can get everything working smoothly again!

