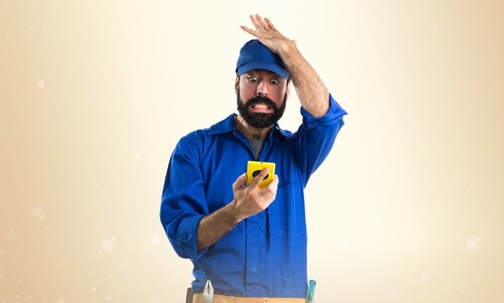
With more DIY websites, videos, and TV shows around than ever before, a lot of homeowners are tempted to try their hand at their own plumbing repairs and installations. While learning to be handier around the house can definitely come in--well--handy, a lack of proper plumbing knowledge and training can lead to subpar workmanship, which can then lead to misfortunes like leaks and water damage.
Before you pick up that pipe wrench, make sure you know about these 3 common mistakes that people make when attempting DIY plumbing.
1. Tightening Connections Too Much
You might be wondering why this is a problem, especially when plumbing connects absolutely need to be watertight. In actuality, most plumbing connections form a watertight seal without extreme tightening.
Trying to make the connections as tight as humanly possible can end up breaking the plastic or rubber washers that are already creating a watertight seal. Excessive tightening can also strip pipe threads bare or even crack the connection. If this happens, the connection becomes useless and must be replaced.
It should also be mentioned that if you ever have to loosen or remove an extremely tight connection, it will be a precarious process to avoid breaking the pipe. It may not even be possible to remove the pipe without cutting through it.
2. Using Incorrect Piping Material
Rather than replacing a piece of piping with the same material, a lot of DIY-ers make the mistake of “making do” with some other type of piping material. To make matters worse, some DIY-ers will connect this material to their existing pipes with mismatched connections and then attempt to seal any gaps they can find with silicone, caulk, or tape.
This poses a problem because attempting to join two different piping materials greatly increases the risk of a leak. Generally, it requires a special type of connection to join two totally different piping materials together. However, the DIY-er must also know the correct type of connection to purchase and how to correctly install it.
3. Improper Use of Tape
Did you know that it actually matters which direction you wrap plumber’s tape? It does.
Plumber’s tape (AKA. thread seal tape or Teflon tape) should always be wrapped in a clockwise direction around pipe threads, or else it won’t work properly! If you wrap plumber’s tape in a counterclockwise direction, it will start to unwind once you begin to tighten the fitting.
Unfortunately, as professional plumbers, we encounter a lot of DIY jobs that ultimately end up costing the homeowner more money and stress than if they’d hired a professional plumber from the start. Remember, there’s never any shame in calling a professional!
At EZ Flow Plumbing, we have the skills and resources to provide you with reliable plumbing repairs and installations, and we are proud to have earned a reputation with our customers and neighbors for providing friendly and courteous service.